Lash Lifts: The Secret to Low-Maintenance, Stunning Lashes - Why Every Lash Artist Should Offer Them!
Your bag

With low maintenance, versatility, affordability, and quick application time, lash lifts are a game-changer for anyone looking to enhance their natural lashes. Adding this service to your menu can help you stand out in a crowded market and bring in new business. So why not take the leap and start offering lash lifts today? Your clients will thank you for it!
Are you looking for a new service to add to your list of offerings? Look no further than lash lifts! Lash lifts are a fantastic way to enhance your clients' natural lashes and provide them with a stunning, long-lasting curl. Here are just a few of the benefits of adding lash lifts to your service menu:
1. Low Maintenance
Unlike lash extensions, which require regular fills, lash lifts last for 6-8 weeks with no touch-ups required. This means your clients can enjoy the benefits of a curled lash line without the hassle of constant upkeep.
2. Versatile
Lash lifts work on all types of lashes, from short and straight to long and curly. This means you can offer the service to a wide range of clients, and they'll all leave with gorgeous, lifted lashes. They also might be a good option for those who are allergic to lash adhesive associated with lash extensions.3. Cost-
3. Effective for Everyone
Compared to the cost of lash extensions, lash lifts are a more affordable option for clients who want to enhance their natural lashes. This means you can attract clients who may not have considered lash services before, and offer them a budget-friendly option that still delivers fantastic results.
4. Quick Service
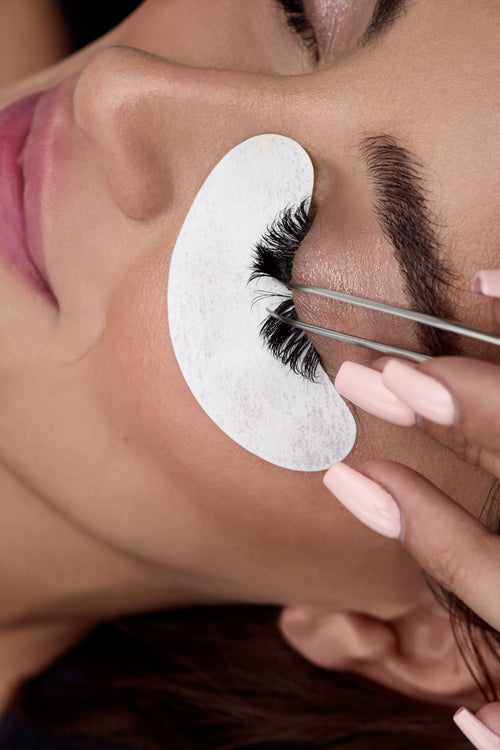
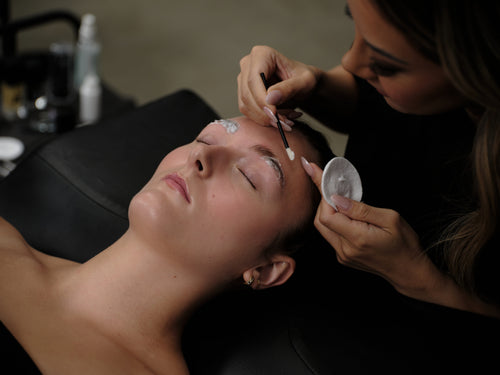
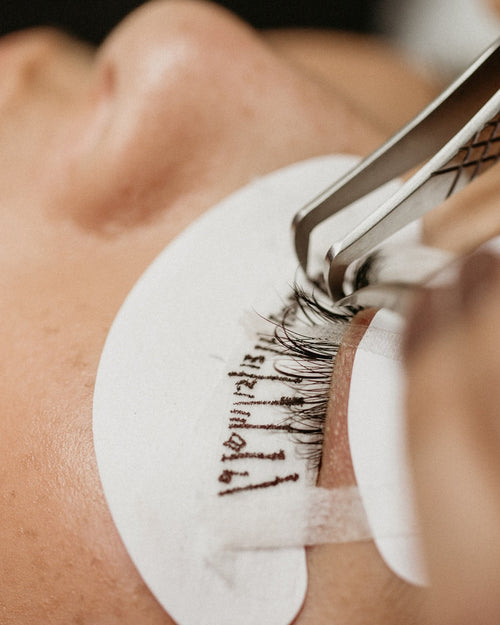
The lash lift process takes just 45-60 minutes, making it a great option for clients who want a quick beauty fix. Plus, the procedure is painless and requires no downtime, so clients can go about their day as usual after their appointment.
For example, assuming you charge $70 for a lash lift service, and it takes you 1 hour to complete, your hourly rate would be $70. Here's a rough estimate of the potential profit breakdown:
Profit breakdown per treatment:
Assuming you can complete 4 lash lift treatments per day, your daily profit would be $248. If you work 5 days a week, you could potentially earn $1,240 a week or $5,160 a month.
It's important to note that this is just a rough estimate and the actual profit will depend on various factors such as the cost of products, the hourly rate, and the number of clients you see. However, offering lash lift services can be a lucrative addition to your service menu and a great way to boost your income as a lash artist.
Adding lash lifts to your service menu is a smart move for any lash artist looking to expand their offerings and attract new clients. Not only is it a versatile and low-maintenance service, but it also provides you and your clients with a cost-effective way to enhance their natural lashes. You’ll never regret learning a new skill, but you might regret not offering this service sooner!